This article was generated using AI and is based on real customer reviews from the Amazon platform. It contains affiliate links, meaning we may earn a commission—at no extra cost to you. As Amazon Associates, we earn from qualifying purchases.
Beauty Tool Storage Tips
Key Takeaways
- Proper storage keeps beauty tools clean and hygienic.
- Different types of tools require different storage methods.
- Regular maintenance is essential for longevity.
- Utilize sterilizers and organizers for optimal results.
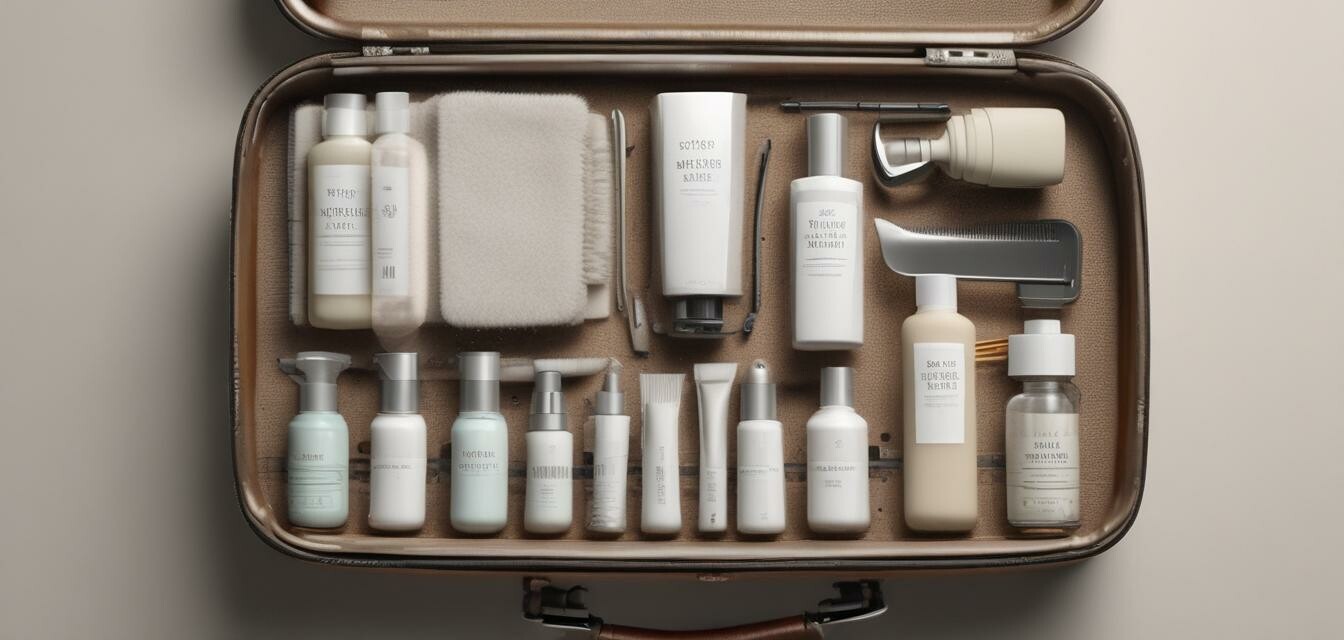
Storing beauty tools properly is essential for maintaining their cleanliness and ensuring they last longer. In this guide, we will explore various storage tips and techniques that can help you keep your beauty tools organized and hygienic. Whether you are a beauty professional or someone who enjoys beauty routines at home, these tips will benefit you.
Why is proper storage important?
Proper storage of beauty tools is crucial for several reasons:
- Cleanliness: Storing tools in a clean environment minimizes the risk of contamination.
- Longevity: Proper storage can help extend the life of your tools.
- Efficiency: An organized space allows for quicker access to the tools you need.
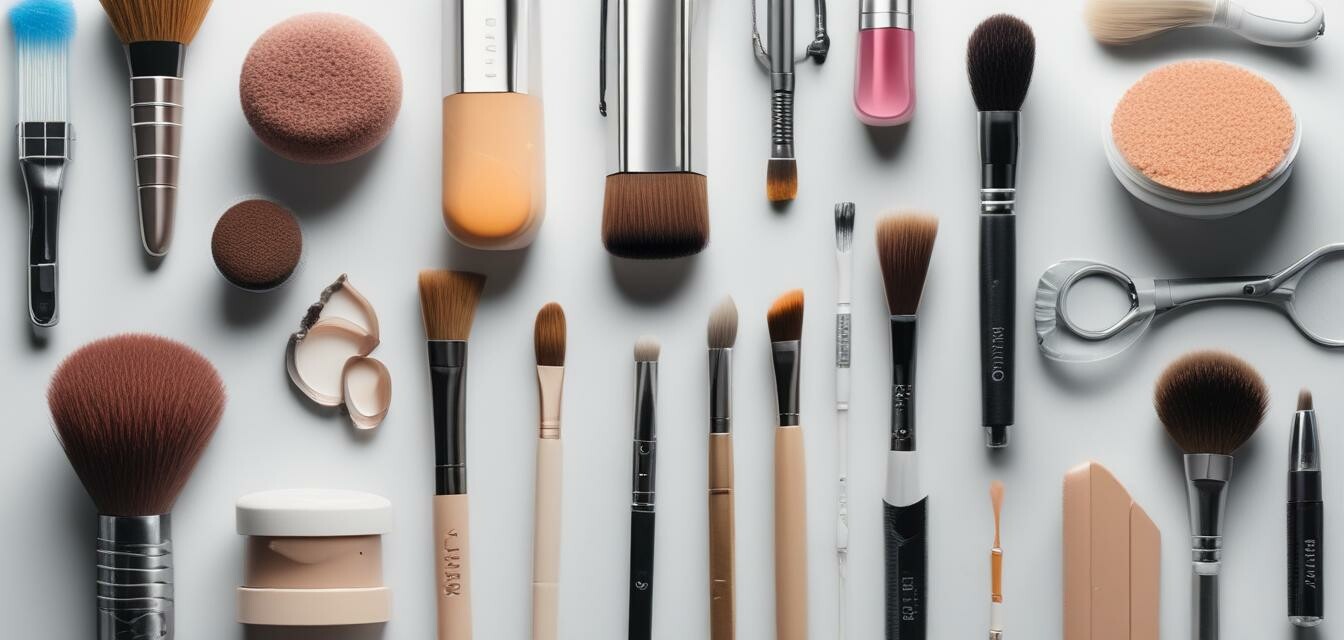
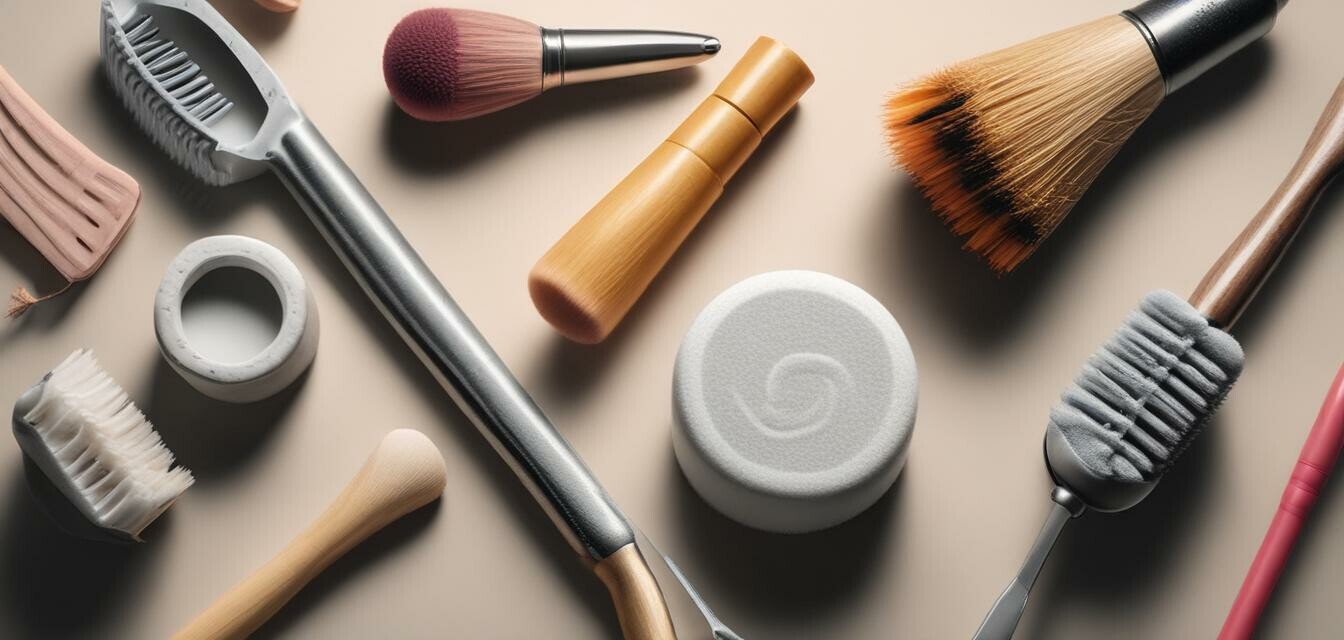
Types of beauty tools and their storage needs
| Tool Type | Storage Method | Recommended Storage Items |
|---|---|---|
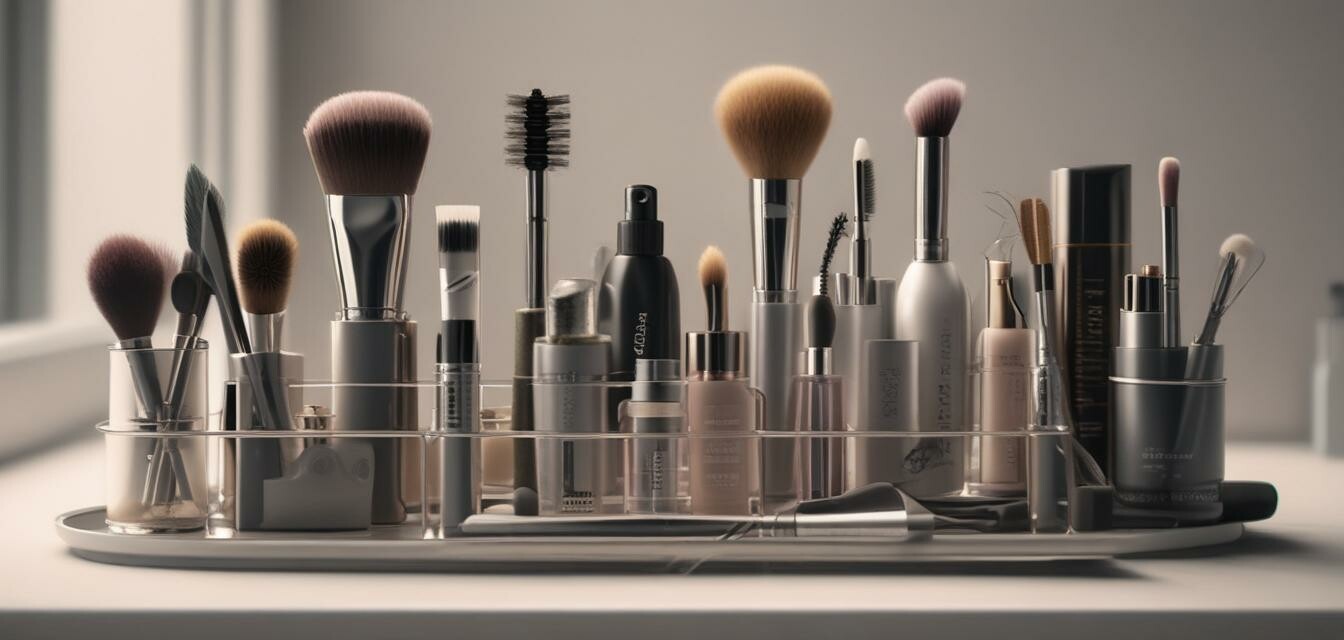
| Makeup Brushes | Vertical storage in jars or holders | Brush holders, jars |
| Beauty Sponges | Air-dry in a breathable container | Mesh bags, sponge holders |
| Facial Tools | Drawer storage with dividers | Drawers, dividers |
| Cloth Towels | Folded and stored in a clean area | Storage bins, shelves |
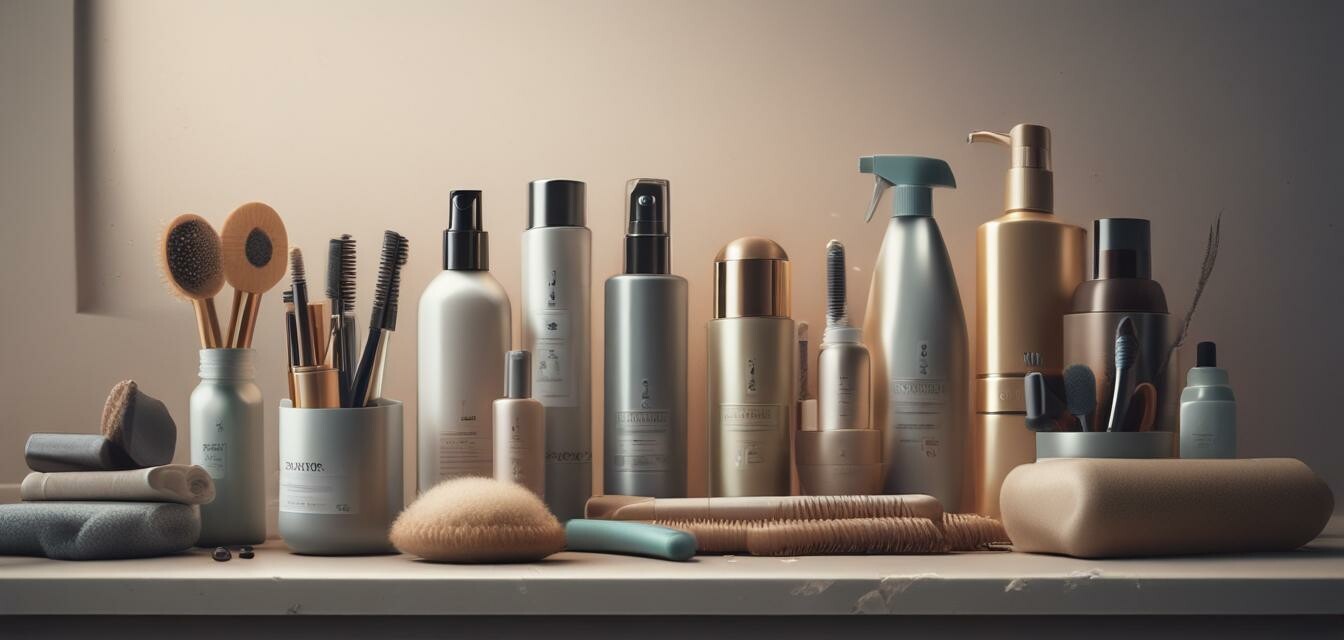
Best practices for storing beauty tools
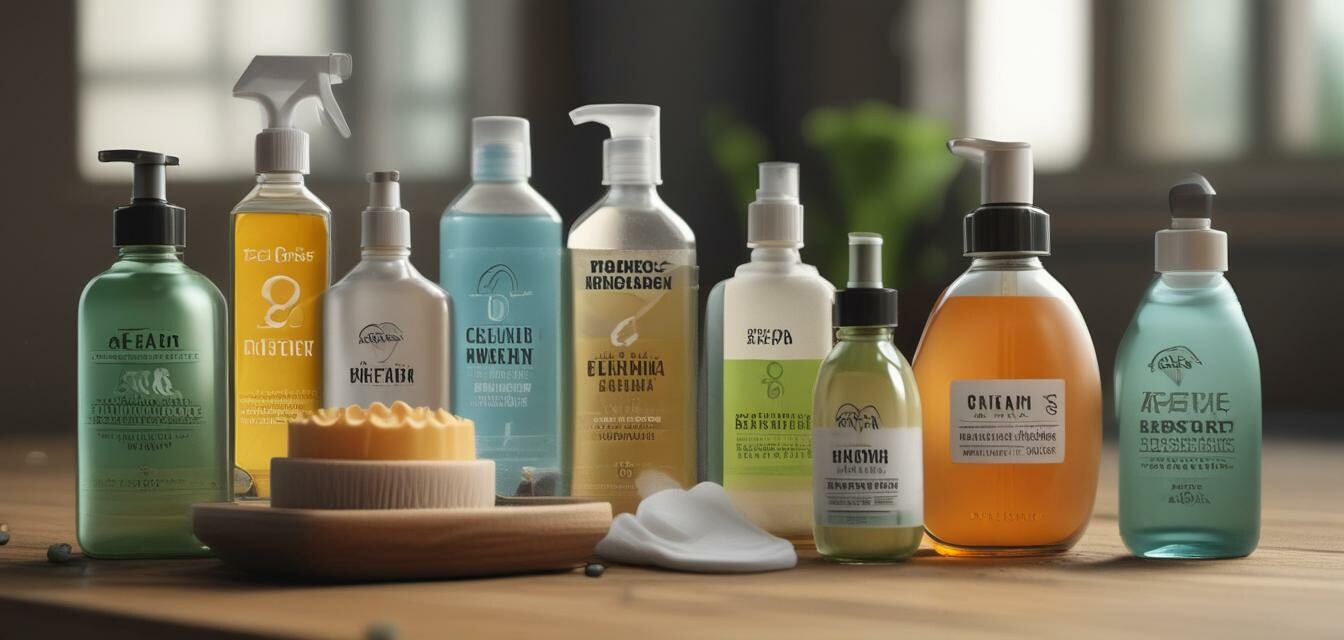
1. Keep tools clean
Before storing any beauty tools, ensure they are clean. Use appropriate cleaners and tools to maintain hygiene.
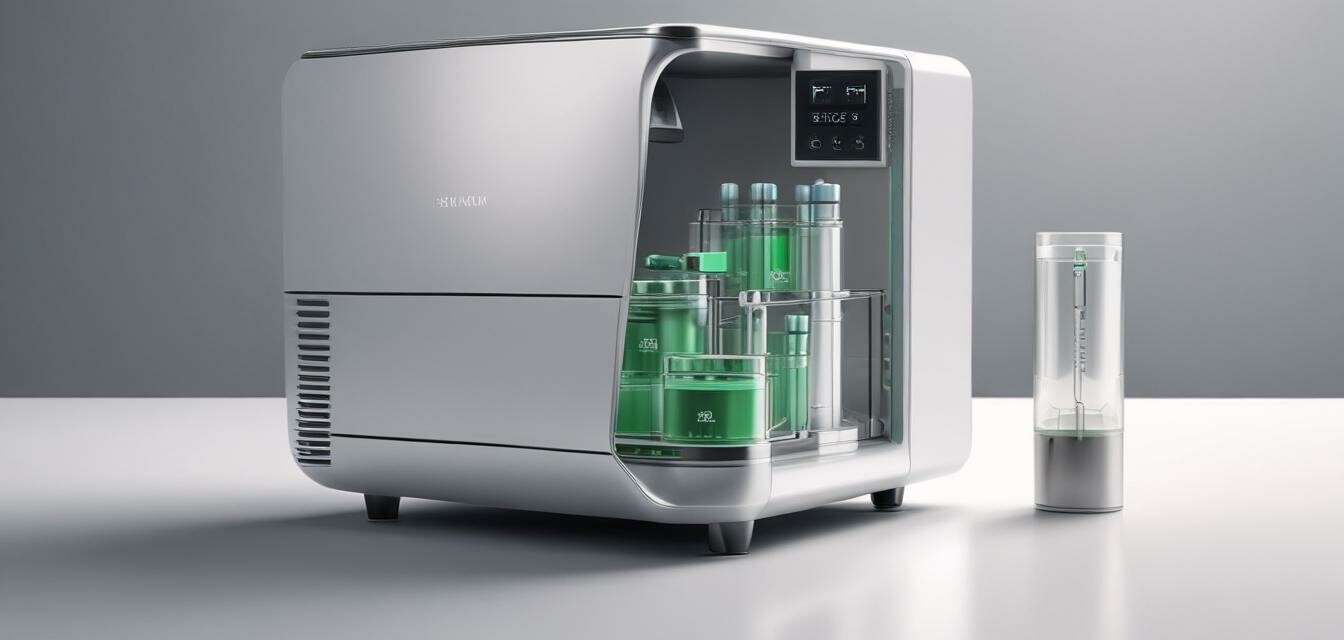
2. Use sterilizers
For tools that require strict hygiene standards, consider using sterilizers. This will ensure that the tools are free from germs.
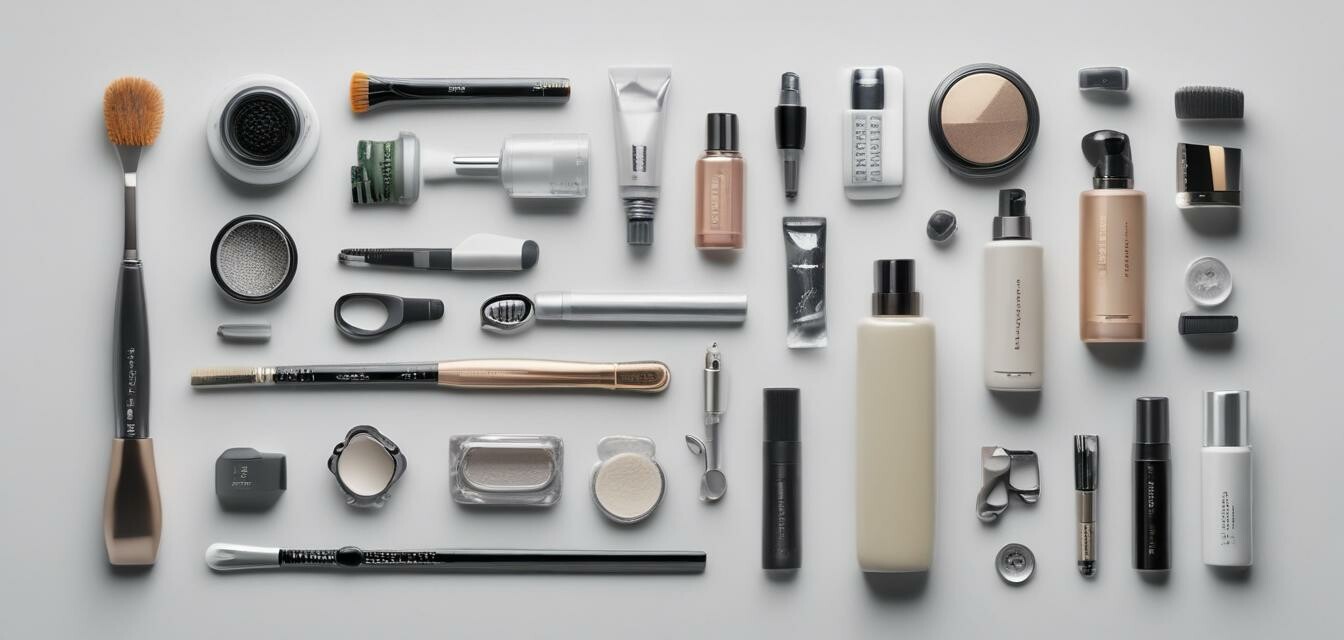
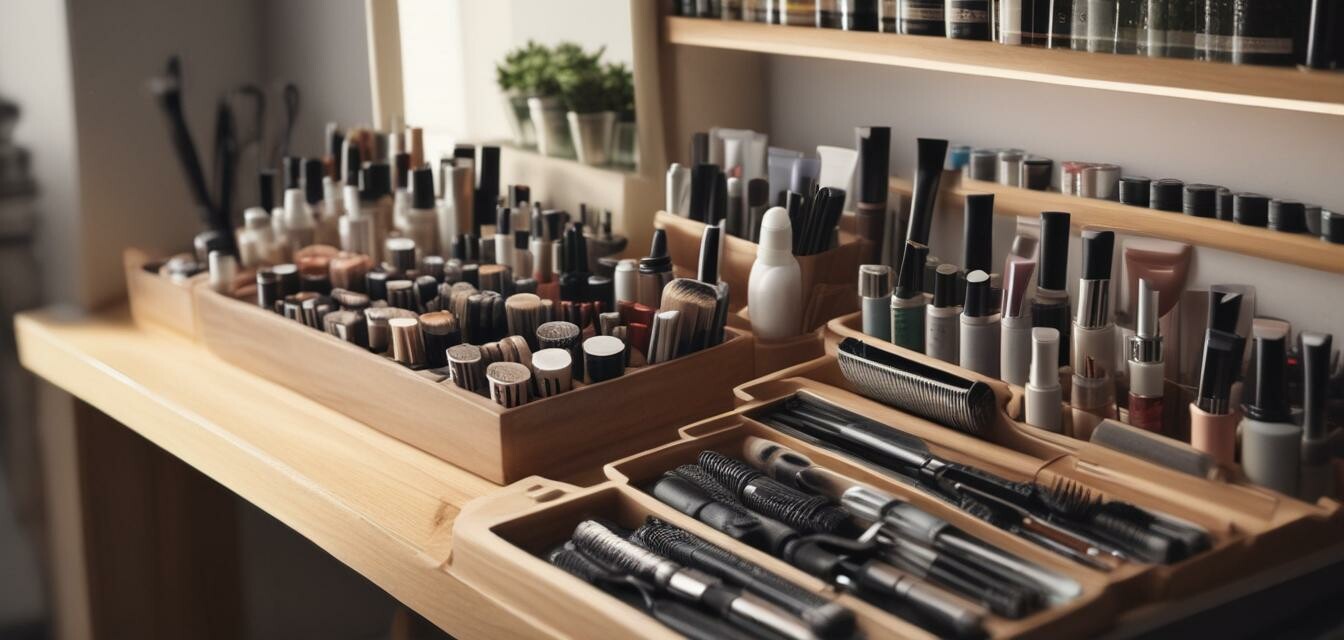
3. Organize by type
Group similar tools together to make it easier to find what you need. Use organizers or storage containers that fit your space.
4. Label storage areas
Labeling can help you quickly identify where each tool is stored. This is especially useful in larger collections.
5. Regular maintenance
Schedule regular checks to clean and organize your tools. This will prevent clutter and maintain cleanliness.
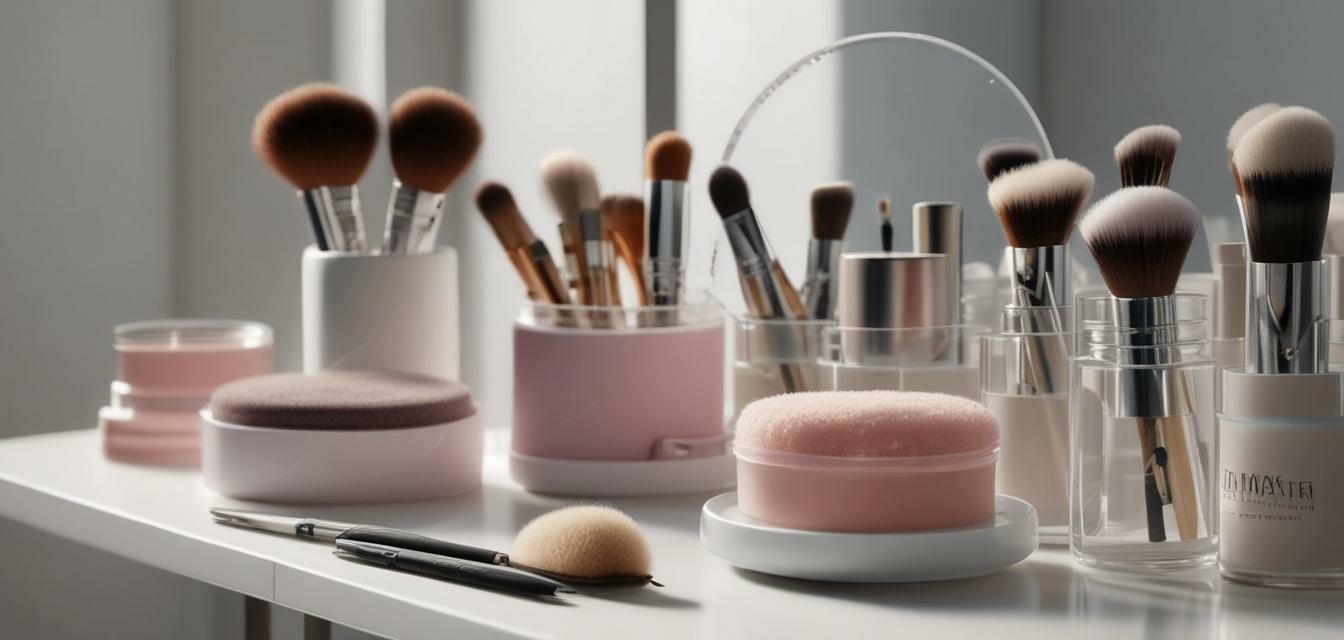
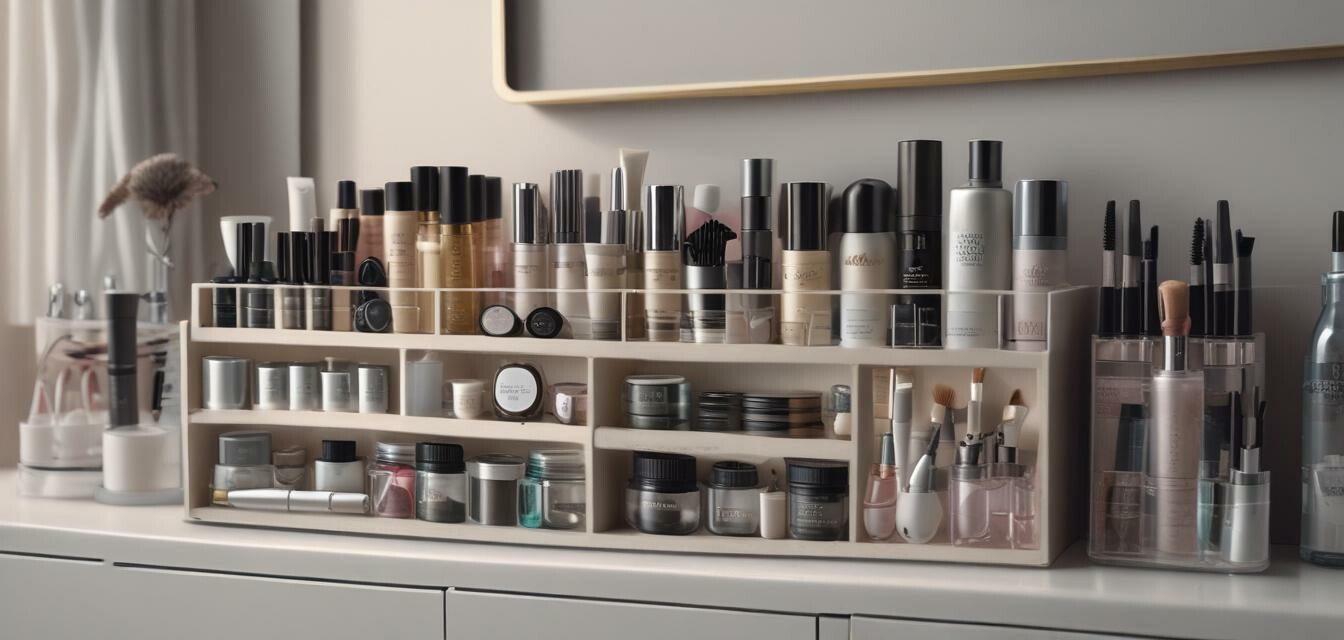
Recommended storage solutions
Beginners Section
- Start with a simple organizer for brushes and sponges.
- Invest in a sterilizer if you use tools frequently.
- Keep a cleaning schedule to ensure tools stay hygienic.
Conclusion
Storing beauty tools properly is essential for maintaining their cleanliness and ensuring they last longer. By following these storage tips, you can create a functional and organized space for your beauty tools. Always remember that regular maintenance and cleanliness are key to achieving the best results.
Explore More
For more information on specific beauty tool categories, check out the following:
- Cloth and towel sterilizers
- Electric tool cleaners
- Facial tool cleaners
- Makeup brush cleaners
- Sponges and puff cleaners
Pros
- Improved hygiene of beauty tools
- Extended lifespan of tools
- More efficient makeup application
Cons
- Initial investment in storage solutions
- Time-consuming maintenance
Final Thoughts
Implementing these beauty tool storage tips will help you maintain a clean and organized beauty workspace. Remember to adapt these tips to fit your personal needs and preferences.